1.26.2011

Felt Flower

Here's a really simple way to make these fun felt flowers you can clip to your hair or pin to your favorite sweater or coat.

All you need is:
  • a flower cookie cutter
  • a piece of paper
  • a straight pin
  • a sheet of felt
  • a stapler
  • a hot glue gun
  • an alligator clip
  • a pin to pin the flower to your clothes
Get a flower shaped cookie cutter and trace around the edges.

Cut out the flower and use it as a pattern to cut out 6 felt flowers.

Be sure to save a few of the long pieces left over. I usually end up with 3. One longer than the other two.

Take 4 your flower cut outs one by one and fold them in half twice.


Next, staple the flower toward the pointy edge.

Do that with 4 of the flower cut outs.

Next, take the remaining 2 flower cut outs. Fold them the same way, but staple closer to the middle.
Take the 2 folded and stapled cut outs and cut off the pointy edge.


Take your longest left over piece and make it into a scalloped edge. It does not have to be perfect. I think it's cuter if it's not. :)

Roll it up.
Like this... AND staple it!

This is what you should have. 2 rectangle pieces, 2 folded with points cut off, 2 folded with points and one rolled up piece.

Clean up the edges of one of your rectangle pieces and begin to place the pointy ended flowers on the rectangle. Hot glue them in place.


Next, take your two pieces with the points cut off and glue the ends on top of the previous 4. Glue them upright and more toward the center. This will help the flower start to be rounded and full.

Next, take your rolled up piece and glue it right in the middle of the previous two. It should be in the center of the flower. You should have a beautiful little flower.

Take your last rectangle piece and clean up the edges. Prepare your clip and your pin to be glued between the felt rectangle and your flower.


Drag a strip of glue down the back of the flower.

Attach your last rectangle strip to the flower with the pin and clip.

Wa-la! Done!
You can wear this beautiful flower in your hair or you can pin it to your clothes. Very versatile and fun!

1.24.2011

{XOXO} Blocks

Valentine Blocks
{XOXO}
{LOVE}
{HUGS}
{KISS}


Look what our mom {Mama Mo} made us! We love these Valentine blocks, and they're great because you can change their message to say: XOXO, KISS, HUGS, or LOVE.
I love the embellishments and paper she chose.

Cricut letters, scrapbook paper squares, modpodge, and wood cubes. You're set!
Check out the other fun XOXO letters at Craft-O-Maniac's link up party!

1.20.2011

Heart Burlap & Felt Rosette Wreath


Who doesn't love Valentine's Day? Well, apparently a lot of people! I, however, am hopelessly devoted to the traditions of the holiday. Never one to hate Valentine's Day (a.k.a. "Single Awareness Day"), I'm totally stoked to decorate for it each year!

I've proudly jumped on the burlap bandwagon, and love the organic-chic look of it! I know this stuff has a loyal following in many places. However, St Louis is not one of them, so this stuff is way hip to me!

So, for my first official burlap decor project, I made this ca-ute heart shaped wreath, inspired by this one on Craftaholics Anonymous. I wanted to add a splash of color with the felt rosettes. Here's what you need to make your own:
  • wire (I used a wire hanger)
  • wire cutters and pliers
  • 1/4 yard of burlap (there are many color choices)
  • 4 pages of felt
  • ribbon
  • scissors
  • hot glue gun
Cutting burlap can be tricky, so I learned a lot from this link, also from Craftaholics Anonymous.

Step 1: Using pliers, take your wire (or hanger) and form into shape of a heart. Leave a little extra for twisting it closed when you're finished placing the burlap. The closure can be at any spot on the heart.

Step 2: Cut your burlap into several 2 1/2 inch strips. I used 6 strips for mine. Take the strips, and thread them (accordian style) onto the wire as shown below.
Do that for all the strips, and choose how full you want your wreath. After you've added the burlap you want, arrange it and decide where you want your rosettes. The rosettes will be placed permanently in their spots, so keep that in mind.

Step 3: Begin making your rosettes by taking one piece of felt, and cutting it into a large circle, using most of the rectangular sheet of felt. Then take that circle, and cut the edge into a random wave-like pattern all the way around. After you make the whole circle wavy, begin to cut about a half inch strip inside the circle, following the outside of the circle (only no waves this time). You'll cut the circle into a spiral. When you approach the end, stop cutting and leave a small circle of felt attached to the spiral.

Begin rolling the top of the spiral as shown below, and place dabs of hot glue along the way. Note that you have a wavy side of the spiral strip, and a flat edge. Be sure to line up the flat edge, as the bottom of the rosette.
When you get to the end (or desired size) of the felt, you'll come upon the circle you left uncut. Flap that over the bottom of the rosette as a cover.
Step 4: Spread the burlap flat on the desired spot of the wreath, and hot glue the rosettes to the wire and flat strip of burlap.
Step 5: Twist the wire closed, and wrap ribbon around the top of the heart, tie a bow, and hang up your wreath! Quick, easy, and fun! I linked up to Craft-O-Maniac, so check out the other great stuff over there!

1.17.2011

"Family" Blocks with Tutorial

We made these letters for a Super Saturday, and I LOVE them! There really are so many options for these. My good friend, Amy, saw these somewhere, and figured out all the measurements. They're just 2x4s and 2x6s cut into different widths and heights, then using a Cricut, I cut out each letter with the following cartridges: Winter Wonderland, Plantin Schoolbook, George and Basic Shapes, Jasmine, and Wild Card. Mod Podge some of your favorite paper on the blocks, let that dry, then Mod Podge the letters on top (see detailed instructions below)!

Supplies used:
  • one each of 2x4 and 2x6 board
  • saw (we used a chop saw)
  • patterned paper of choice (for background)
  • solid paper of choice (for letters)
  • Cricut and cartridges
  • Mod Podge and sponge brushes
  • Black acrylic paint
  • embellishments of choice
Adding ribbons and embellishments really finishes off the set beautifully. {I forgot to take a pic of the above blocks with the brown ribbon and embellishments}

A super fun and classy looking home decor piece!

Here's the cut list for the wood:
  • "F"- 2 x 6 board cut 6.25" high
  • "A"- 2 x 6 board cut 4.25" high, then cut in half, vertically (half the width of a 2 x 6)
  • "M"- 2 x 4 board cut 5.25" high
  • "I"- 2 x 6 board cut 6.5" high, then cut in half, vertically (half the width of a 2 x 6)
  • "L"- 2 x 4 board cut 4.25" high
  • "Y"- 2 x 4 board cut 6.25" high
Step 1:
Measure out all the measurements for 2x4 and 2x6. Cut. Be sure to measure again after each cut, as the saw takes a bit off each time you cut.

Step 2:
After cutting all 6 blocks, sand smooth and prepare for painting.

Step 3:
Paint all 6 sides of each block. Decide which side you want to be the "face" of the block, and you can just paint the outsides of that face (the part that will show around the patterned paper). Let sit to dry completely (about 2 hrs.)

Step 4:
While paint is drying, cut paper to fit the blocks. Decide how much of the black wood you want to show as a border on the "face" of your blocks. It's up to you.

Step 5:
After paint has dried, paint a layer of Mod Podge onto the "face" of the block. Quickly lay the corresponding paper onto the layer of Mod Podge, and set straight and flat onto block. Take a credit card or a ruler and slowly and firmly scrape over the paper to flatten any air bubbles and evenly distribute the Mod Podge. Do the same to all blocks.

Step 6:
Prepare to glue the letters on! Do same as in step 5, where you paint a layer of Mod Podge to prep surface of paper (don't worry, the Mod Podge dries clear, so just paint in even strokes the same direction, and it'll look beautiful). Place corresponding letter on block, align, and the press onto prepped patterned paper using your fingertips or a pen cap (or something like that). After the letter is pressed down, and set (about 2 mins), layer one final coat of Mod Podge onto the face of the block. Repeat for all blocks.

Step 7:
Add embellishments with hot glue gun, and presto! It's done, and oh so classy!

1.10.2011

Kindle Cover Tutorial

You can imagine the thrill that filled my heart when I unwrapped my gift from Grandma Carrie, and found a beautiful, sleek Kindle resting peacefully in it's packaging! So many possibilities with this puppy. LOVE IT!
It's equally easy to imagine how stoked I was to hurry home and make a little case for my new literary gem.

I have been in love with this bohemian fabric for a while, and knew it would be perfect for my case. Junie Moon already did all the measuring and troubleshooting for me in this tutorial, so I followed it and ended up with a case that I'm super happy with (and, you can't beat the price- about 2 bucks!).

I decided to add a ribbon as an accent, but other than that, I followed Junie's directions.

She also has an awesome laptop sleeve tutorial that has had some great responses. :)

1.05.2011

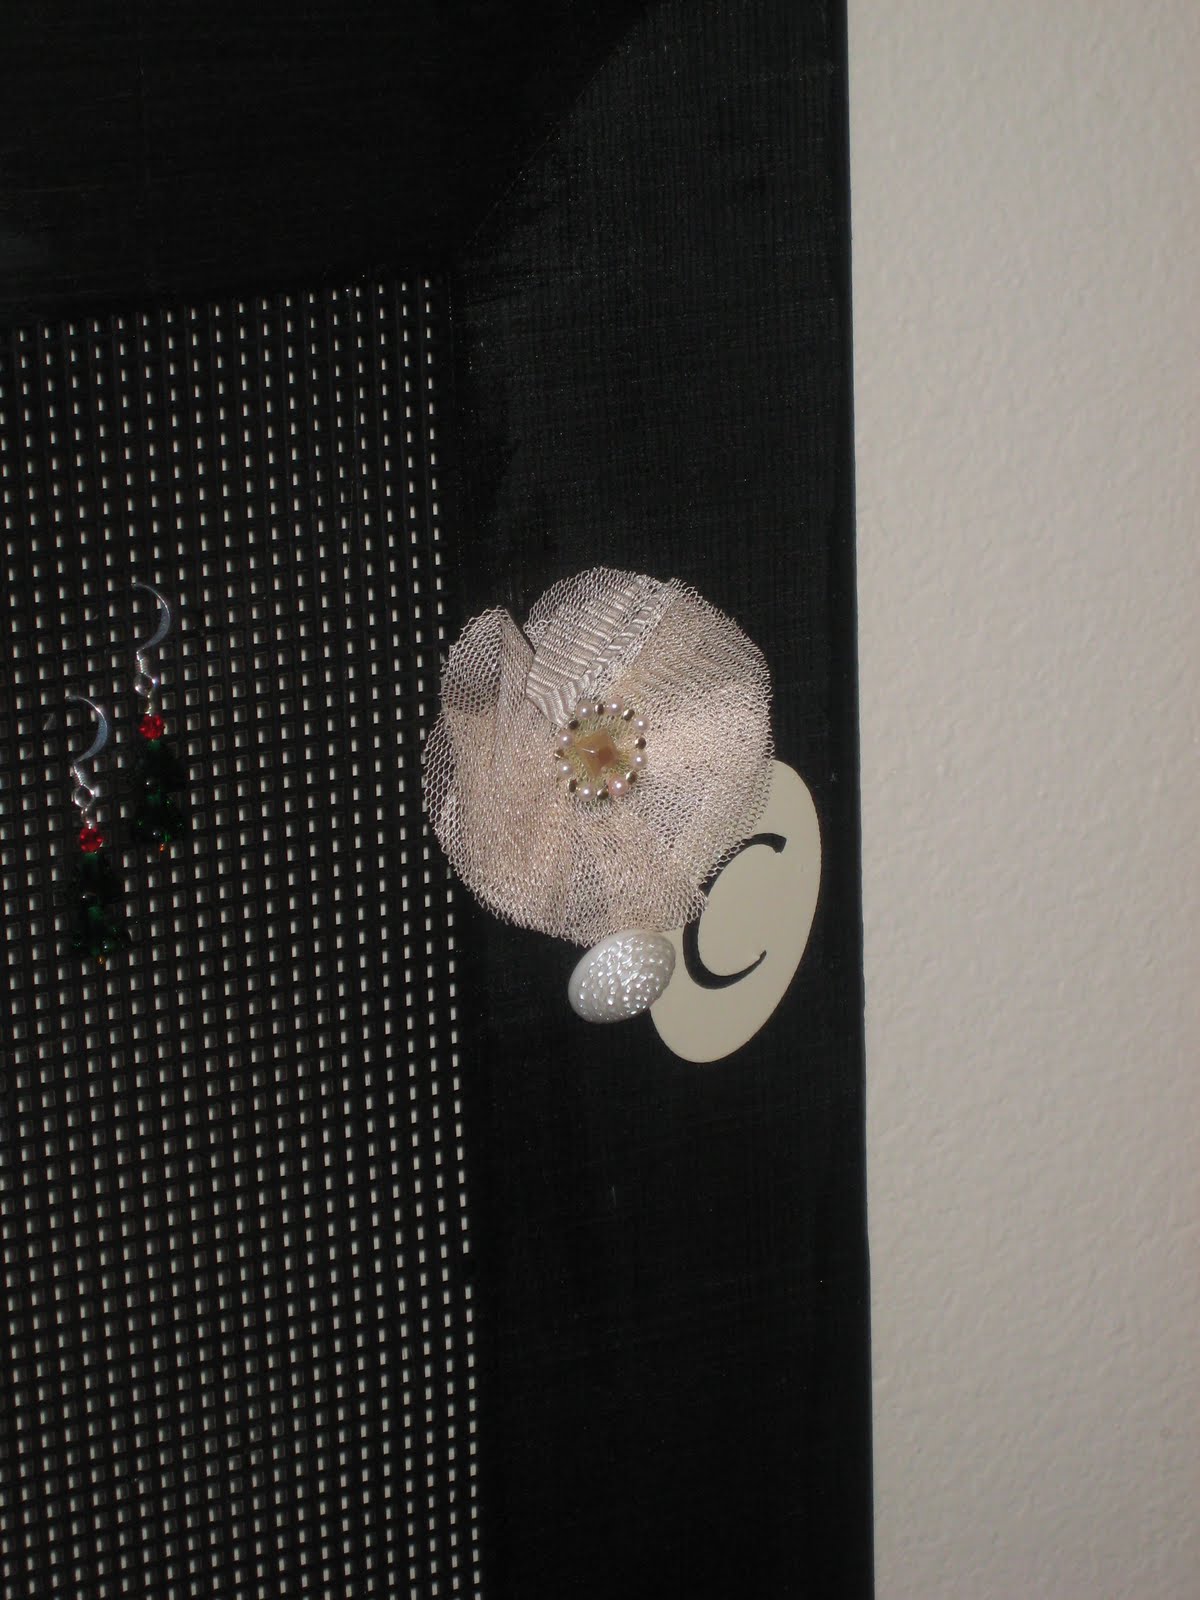
Elegant Earring Frame

These earring frames were birthday gifts for my 3 sisters/sisters-in-law, whose birthdays are in November, December, and January. I LOVE sisters!
This cute frame helps you keep track of and even display your beautiful dangly earrings. My earring drawer in my jewelry box is rapidly morphing into a black hole, so I plan on making one of these babies for myself, STAT!

If you're interested in making one, here's what you do: Get a picture frame (I got mine from Hobby Lobby), paint it, then cut some webbing found in the stitching section at Hobby Lobby to fit into the window part of the frame. After making and hot gluing the flowers to the frame, hot glue the webbing to the back of the frame.

My mom collects vintage buttons, so she donated several to the cause. I love how they turned out!

12.13.2010

Snoapballs!


For my little guy's friends Christmas gifts, we are making snoapballs. They are so easy and fun to make. Here's what you do...


Get some bars of Ivory soap, a cheese grater, and a bowl.

Grate the soap into the bowl.

Put about 1 cup of water into a small bowl.

Place a small handfull of grated soap into your hand and add a few sprinkles of water.
Pack the soap into your hand like you would do with a snowball. Continue to add soap shreds and water until the snoapball is the desired size. Be sure to pack as you go. The ball should not crumble in your hand. If it does, add more water and pack again.


Place the finished snoapballs on a cookie sheet to dry. When they are dry, you can place one in a cellophane bag with a cute little tag and ribbon tied around it. WALA! Done.